Photoshop Photo Retouching: The Best Tools and Techniques to Level Up Your Edits
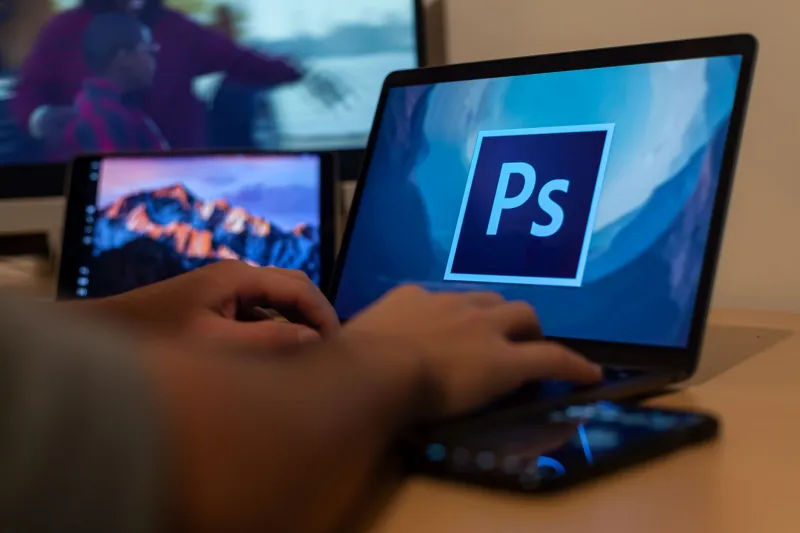
Let's be honest — Photoshop can feel like a maze. There are so many panels, filters, adjustment layers, and hidden shortcuts that even seasoned users miss stuff all the time. Whether you're a photographer trying to polish your shots before delivery or a designer doing product image cleanup for an e-commerce client, knowing the right tools for photo retouching (or "kakou" as it's known in Japanese editing communities) makes a massive difference.
This guide is your shortcut. We're breaking down the best Photoshop tools, third-party plugins, and online resources that'll actually help you retouch photos faster and with better results.
What Is Photo Retouching, Really?
Photo retouching — sometimes called photo editing, photo processing, or in Japanese contexts, "kakou" (加工) — covers a wide spectrum. At the basic end, you've got color correction, exposure adjustments, and cropping. Move up the scale and you're doing skin smoothing, blemish removal, background replacement, and frequency separation. At the pro level, it's compositing, dodge and burn work, and full-on digital art.
The tools you need depend on where you fall in that spectrum, and luckily there are options for every level.
Built-In Photoshop Tools You Should Actually Be Using
Before you go hunting for plugins, make sure you're getting the most out of what Photoshop already offers.
Healing Brush and Clone Stamp
These two are workhorses. The Healing Brush is great for blending texture naturally when removing blemishes or distractions. The Clone Stamp gives you more manual control when the Healing Brush gets confused by complex backgrounds. Use them together for best results.
Content-Aware Fill
This feature has gotten seriously good in recent versions of Photoshop. Select an unwanted object, hit Edit > Content-Aware Fill, and Photoshop samples the surrounding area to fill it in. It's not always perfect, but it saves a ton of time on backgrounds and landscapes.
Camera Raw Filter
Don't sleep on Camera Raw, even if you're working with JPEGs. It gives you non-destructive access to exposure, white balance, clarity, and texture sliders. Think of it as Lightroom inside Photoshop. Hit Filter > Camera Raw Filter and you're in.
Frequency Separation
This is a technique rather than a single tool, but it's one of the most powerful things you can learn for portrait retouching. It separates the texture of skin from the tone and color, letting you smooth out blotchiness without destroying natural skin texture. There are tons of free actions and tutorials online that automate the setup.
Top Third-Party Plugins for Photoshop Retouching
If you want to speed things up or get results that are hard to achieve manually, plugins are the way to go.
Portraiture by Imagenomic
Portraiture has been a go-to for portrait photographers for years. It intelligently smooths skin while preserving detail in hair, eyes, and clothing. The masking is solid, and it works as a Photoshop plugin or standalone. It's not free, but the results are fast and consistent.
Luminar Neo
Luminar Neo from Skylum works as a standalone editor but also as a Photoshop plugin. Its AI-powered tools — like AI Skin Enhancer, Portrait Bokeh, and Relight AI — are genuinely impressive and can knock out retouching tasks in seconds that would take much longer manually.
Nik Collection by DxO
The Nik Collection is a suite of plugins that covers color grading, sharpening, noise reduction, and more. Dfine 2 (for noise reduction) and Color Efex Pro (for color grading and creative effects) are especially useful in a retouching workflow.
Topaz Photo AI
Topaz has built a strong reputation in the AI-powered editing space. Topaz Photo AI combines noise reduction, sharpening, and upscaling into one tool. If you're working with images shot in low light or need to upscale for print, this is a serious time-saver.
Online Resources to Learn Photoshop Retouching
Tools only get you so far — technique matters just as much. Here are some resources worth bookmarking.
Phlearn
Phlearn (phlearn.com) is one of the best Photoshop tutorial sites out there. Aaron Nace breaks down retouching techniques in a way that's easy to follow without being condescending. They have both free content on YouTube and a premium subscription with more in-depth courses.
Adobe's Own Tutorial Library
Adobe has a solid library of official tutorials at helpx.adobe.com. They're not always the most exciting, but they're accurate and cover features that third-party tutorials sometimes miss.
YouTube: Unmesh Dinda (PiXimperfect)
PiXimperfect on YouTube is a goldmine for Photoshop learners. Unmesh covers everything from beginner basics to advanced compositing and retouching. His content is free, well-explained, and regularly updated.
Retouching Academy
For photographers serious about high-end retouching, Retouching Academy offers professional-level training on techniques like frequency separation, dodging and burning, and color grading for portraits.
Free Photoshop Actions for Retouching
Actions automate repetitive steps and can seriously speed up your workflow. Here are a few places to find quality free options:
- Adobe Exchange — Adobe's own marketplace has free and paid actions from verified creators.
- DeviantArt — Still a surprisingly active hub for Photoshop actions, brushes, and presets.
- Brusheezy — Good selection of free Photoshop resources including actions and textures.
- FilterGrade — A marketplace with both free and premium Photoshop presets and actions.
When downloading actions from third-party sites, always scan files and make sure you trust the source before running anything.
Building a Retouching Workflow That Actually Sticks
Having great tools is one thing, but building a consistent workflow is what separates hobbyists from pros. Here's a simple structure to start with:
- Global corrections first — Fix exposure, white balance, and contrast before anything else.
- Remove distractions — Use Healing Brush, Clone Stamp, or Content-Aware Fill to clean up the image.
- Work non-destructively — Use Smart Objects, adjustment layers, and masks so you can always go back.
- Retouch on a separate layer — Keep your retouching on its own layer so you can control the opacity or turn it off entirely.
- Final color grade — Apply your look last, after all corrections are done.
Sticking to this order saves you from having to redo work when you make changes late in the process.
Final Thoughts
Photoshop photo retouching has never had more tools available to support it — from AI-powered plugins to deep tutorial libraries and free action packs. The trick is knowing which tools are worth your time and which ones are just noise.
Start with the built-in Photoshop tools, layer in a plugin or two that fits your specific workflow, and invest some time in learning technique from trusted resources. That combination will take you further than any single tool ever could.
Stay tuned to WebToolNavi for more deep dives into the best creative tools and resources out there.